When I was looking into setting up email on this domain, I found out that iCloud+ supports sending mail from a custom domain. That was convenient because I already subscribed for extra storage and didn’t want to pay for a separate mailbox provider. Since I was also using Cloudflare to manage DNS and host this site, I ended up with a split setup: Cloudflare would handle inbound mail forwarding, while iCloud would handle outbound mail. As an added bonus, Cloudflare offers more configurability for email forwarding.
Setting Up Outbound Email with iCloud
Apple provides a nifty step-by-step onboarding flow for setting up email on a custom domain after logging in to the iCloud web app. It detected that my DNS was hosted on Cloudflare and had me authorize DNS changes on my behalf. This was followed by a verification process to ensure the configured addresses could receive mail. Let’s walk through what this actually did under the hood.
Outbound Email in a Nutshell
Outbound email is sent from an email client to an outgoing SMTP (Simple Mail Transfer Protocol) server. The outgoing mail server looks up the MX (Mail eXchange) DNS records for each recipient domain to determine where to transfer the message.
However, for recipients to trust mail from your domain, DNS records must indicate which servers are allowed to send mail on your behalf. This is done with two different records:
- SPF (Sender Policy Framework) - Lists mail servers authorized to send messages on your behalf.
- DKIM (DomainKeys Identified Mail) - A public key that the recipient can use to verify a signature on the message to prove that it came from an authorized mail server. The email provider (in this case iCloud) holds the private key used to sign the message.
Without these records set up, outbound email is likely to go to spam because the recipient cannot verify that the message was not spoofed. These checks only provide evidence that an email originated from a legitimate sender; other factors, like sender reputation, can still affect whether a message is filtered as spam by the recipient.
With that context, let’s look at the DNS records that were added:
| Type | Name | Purpose | Value |
|---|---|---|---|
| MX | @ | iCloud inbound mail server | mx01.mail.icloud.com |
| MX | @ | iCloud inbound mail server | mx02.mail.icloud.com |
| TXT | @ | SPF | v=spf1 include:icloud.com ~all |
| CNAME | sig1._domainkey | DKIM | sig1.dkim.<your-domain>.at.icloudmailadmin.com |
A few details are worth calling out:
- The SPF record’s syntax is fairly complex, but generally it needs to resolve to a list of IP addresses corresponding to authorized sender mail servers. The specification refers to fields in the record syntax as “mechanisms”. Each mechanism is evaluated in order, and the first one that matches is used.
v=spf1is the version tag, which always appears at the beginning of the record.- The
includemechanism indicates that receivers should look up and trust the SPF records fromicloud.com. ~allindicates a fallback if no records match. The~prefix indicates a “soft fail,” meaning the unmatched host is not authorized to send. Unlike-all, it can still allow delivery while flagging the message as likely spam.
- The DKIM record can either be a CNAME or a TXT record. In this case, it’s a CNAME that aliases to a DKIM record managed by iCloud. Alternatively, DKIM metadata can be included inline in a TXT record.
- The name of the CNAME,
sig1._domainkey, follows a specific format.sig1is the selector, which is always followed by._domainkey. - Some services allow customizing the selector; however, iCloud provides only a single
sig1default selector. It’s important that this matches exactly with what the provider expects, because the selector is embedded as part of the DKIM header in the email for the recipient to validate.
- The name of the CNAME,
Inbound Email Forwarding on Cloudflare
Inbound email forwarding is easy to enable with one click through Email Routing in the Cloudflare UI. Cloudflare will offer to set up DNS records automatically; however, I wanted to make a few tweaks so that I could continue to support iCloud for outbound mail. Here’s an example of what the final records look like:
| Type | Name | Purpose | Value |
|---|---|---|---|
| MX | @ | Cloudflare inbound mail server | route1.mx.cloudflare.net. |
| MX | @ | Cloudflare inbound mail server | route2.mx.cloudflare.net. |
| MX | @ | Cloudflare inbound mail server | route3.mx.cloudflare.net. |
| TXT | @ | SPF | v=spf1 include:icloud.com include:_spf.mx.cloudflare.net ~all |
| CNAME | sig1._domainkey | DKIM (iCloud) | sig1.dkim.<your-domain>.at.icloudmailadmin.com |
| TXT | cf2024-1._domainkey | DKIM (Cloudflare) | v=DKIM1; h=sha256; k=rsa; p=<public_key> |
There are a few important callouts here:
- The iCloud
MXrecords have been replaced with CloudflareMXrecords.MXrecords indicate where messages sent to the domain should be routed. Cloudflare is handling email forwarding, so we want it to be the inbound destination. - There’s an additional
includedirective in the SPF record:include:_spf.mx.cloudflare.net. When Cloudflare forwards email, it rewrites the return path header in the email to use the custom domain. SPF checks use the domain in that return path header, so this ensures that forwarded messages continue to pass checks. - For a similar reason, there’s a separate DKIM record added for Cloudflare. As discussed earlier, DKIM records follow a specific format, and in this case the
cf2024-1selector is provided by Cloudflare. The record itself is an inline TXT record.
Creating Routing Rules
Before forwarding mail, Cloudflare must confirm you control the inbox that will receive forwarded mail. Add your iCloud address as a destination address and click the verification link Cloudflare sends there.
Under Routing Rules, create an address for each custom-domain alias you want. Optionally, you can configure a catch-all rule to forward any address at the domain to a single destination.
Enabling DMARC
Another benefit of using Cloudflare for inbound forwarding is the ability to visualize SPF and DKIM failures and report on which sources are trying to send email from your domain. This is facilitated by DMARC (Domain-based Message Authentication Reporting and Conformance), which tells receiving servers what to do when an email fails SPF or DKIM checks. Enabling DMARC sets up a DNS record that looks something like this:
| Type | Name | Purpose | Value |
|---|---|---|---|
| TXT | _dmarc | DMARC policy | v=DMARC1; p=none; rua=mailto:xxx@dmarc-reports.cloudflare.net |
Similar to the SPF record, the DMARC record is a TXT record that starts with the version, v=DMARC1. p is the policy for email that fails authentication: none means take no action, quarantine sends the email to spam, and reject bounces the email back to the sender. rua is the destination address used to receive aggregate reports on failed messages, in this case provisioned by Cloudflare.
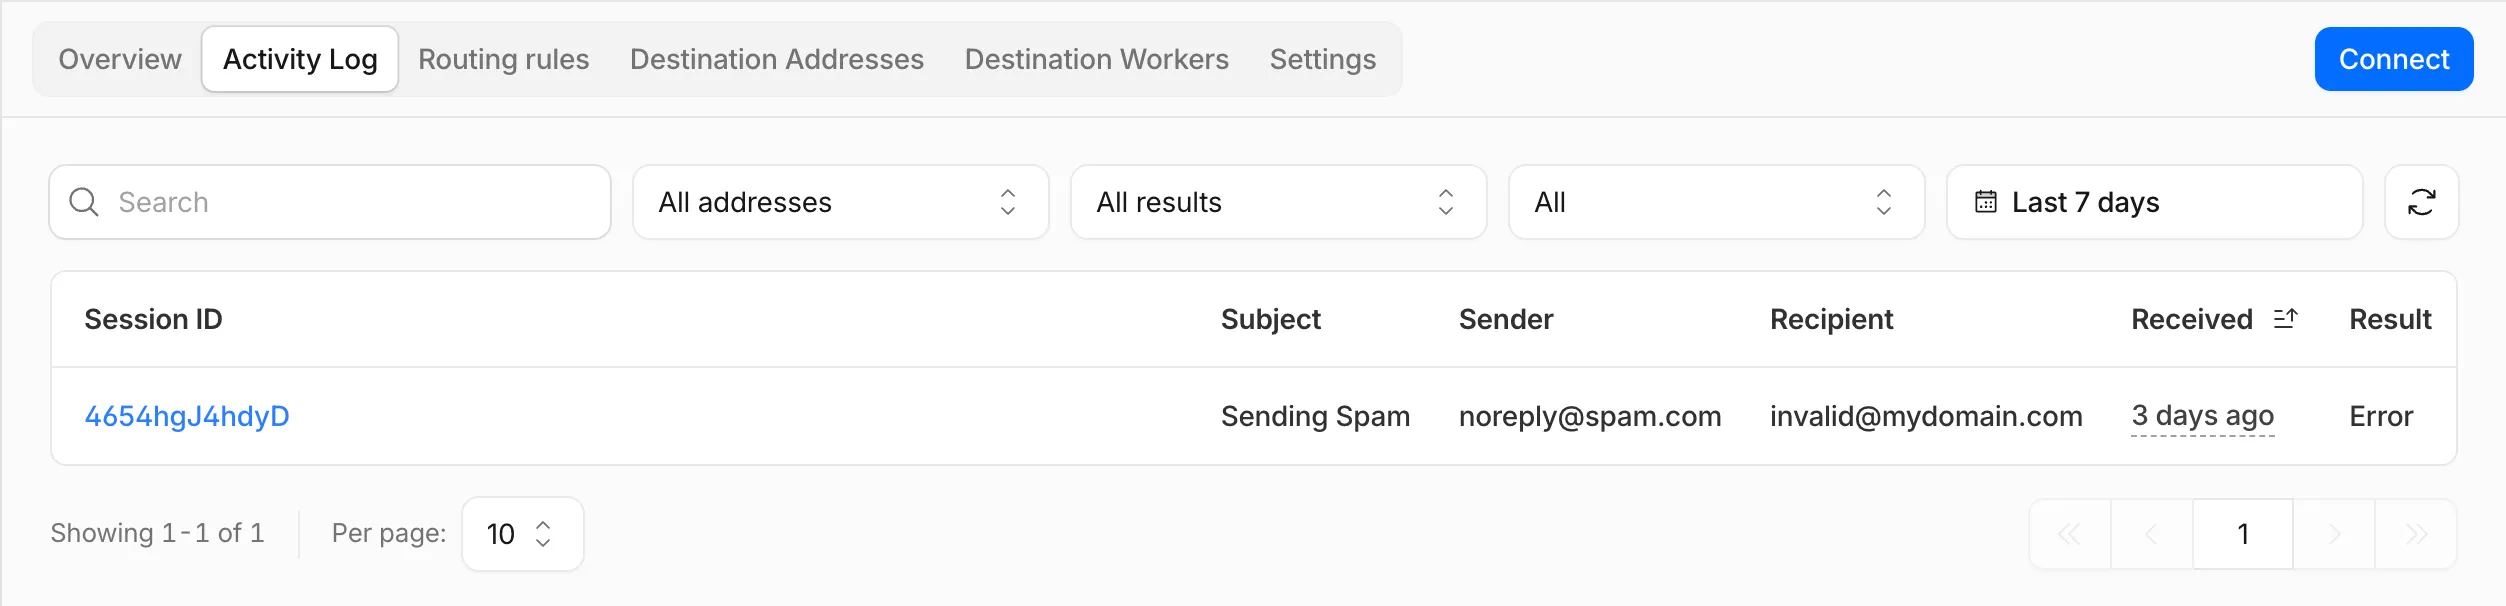
This shows up under the Activity Log tab in Email Routing, summarizing sources that attempted to send mail from your domain and whether SPF, DKIM, and DMARC checks passed or failed:
Conclusion
The final setup splits inbound and outbound email: Cloudflare handles inbound delivery and routing through the domain’s MX records, while iCloud handles outbound mail from Apple’s SMTP servers. SPF and DKIM need to include both providers so both inbound and outbound mail can pass authentication checks. DMARC then provides visibility into those checks and controls delivery behavior when checks fail.
flowchart LR
  subgraph Inbound
    direction LR
    Sender --> CF[Cloudflare Email Routing] --> Inbox[iCloud Inbox]
  end
  subgraph Outbound
    direction LR
    AppleMail[Apple Mail] --> iCloud[iCloud SMTP] --> Recipient
  end